What exactly is ControlNet and why are Stable Diffusion users so excited about it?
Think of Stable Diffusion's img2img feature on steroids.
With regular img2img, you had no control over what parts of the original image you wanted to keep and what parts you wanted to ignore.
With ControlNet, you can choose exactly which parts to keep from the original image and which to ignore (practical uses right now are controlling poses and compositions, but over time we'll see many more models and use cases).
You can read more about it on the official Github repo and the academic paper.
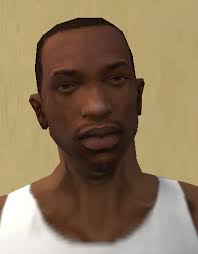
What is possible with ControlNet? You can copy any pose:

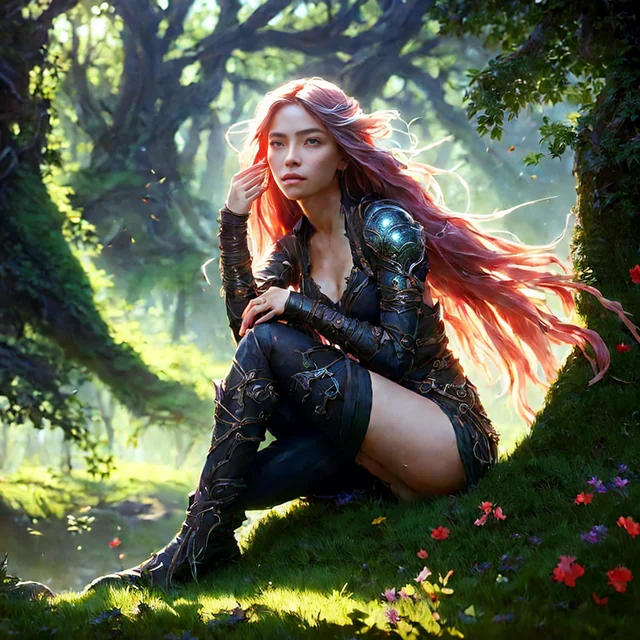

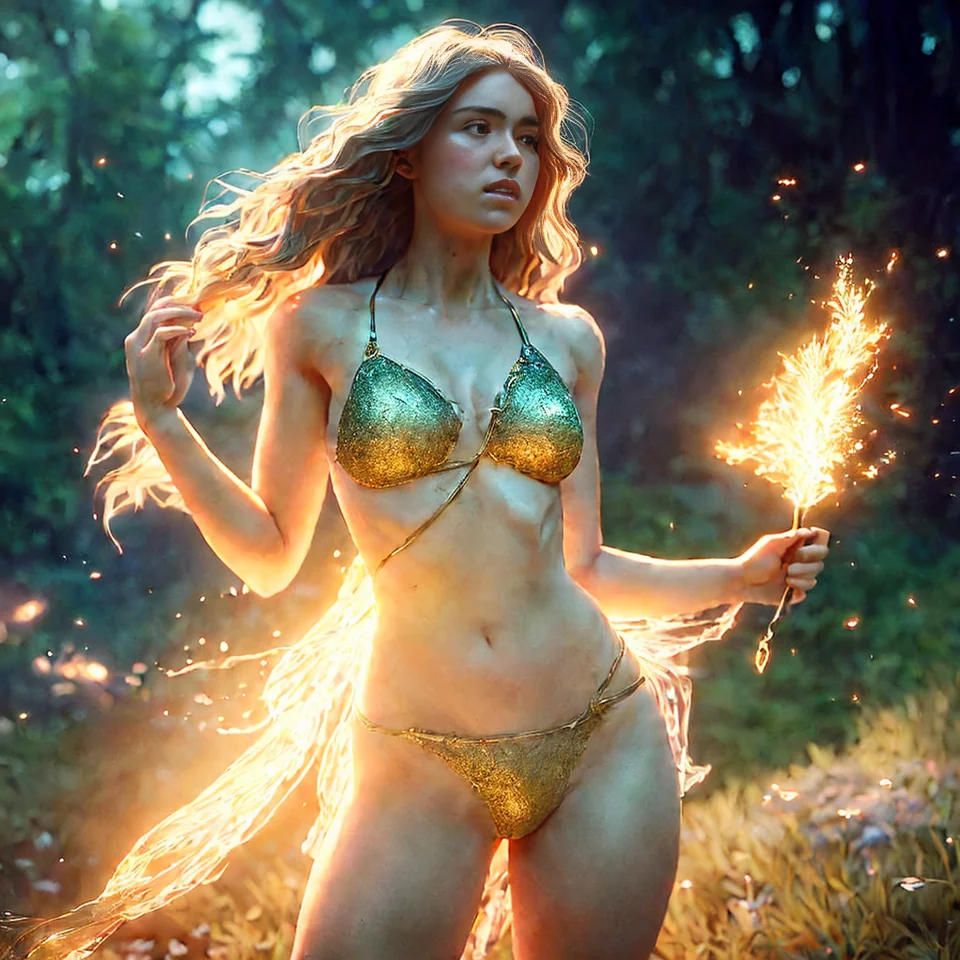
Diffusion model: RPG by Anashel
ControlNet Model: control_openpose-fp16 (OpenPose)
You can alter environments while retaining the core features of the place:
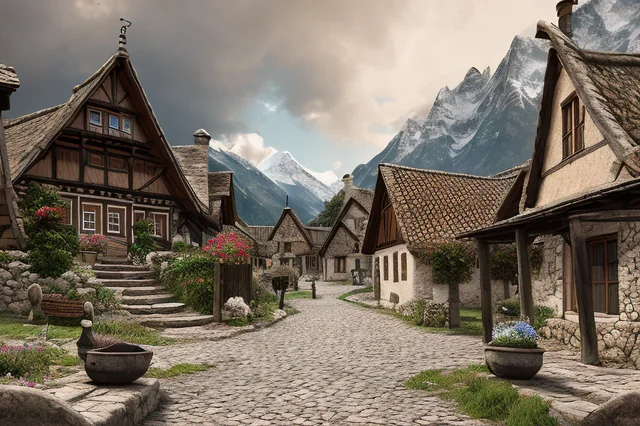

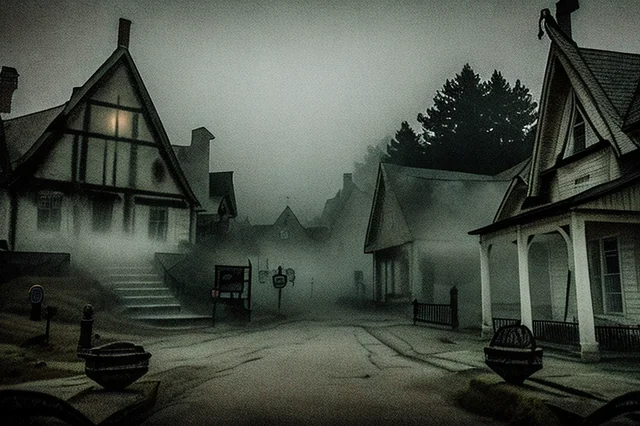
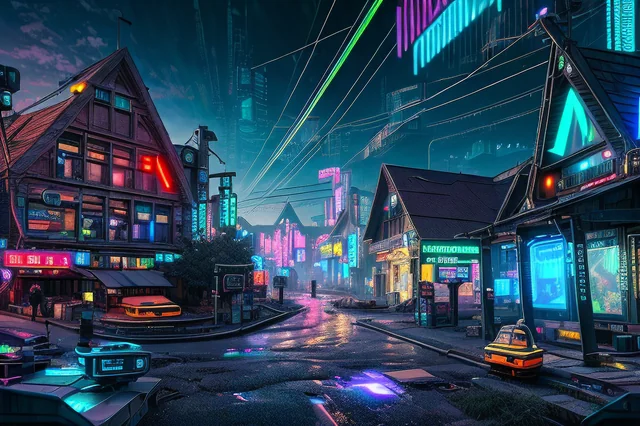
Diffusion Model: Private (but similar to Deliberate)
ControlNet Model: control_depth-fp16 (Depth)
You can turn a kid's (or your own) scribbles into masterpieces:

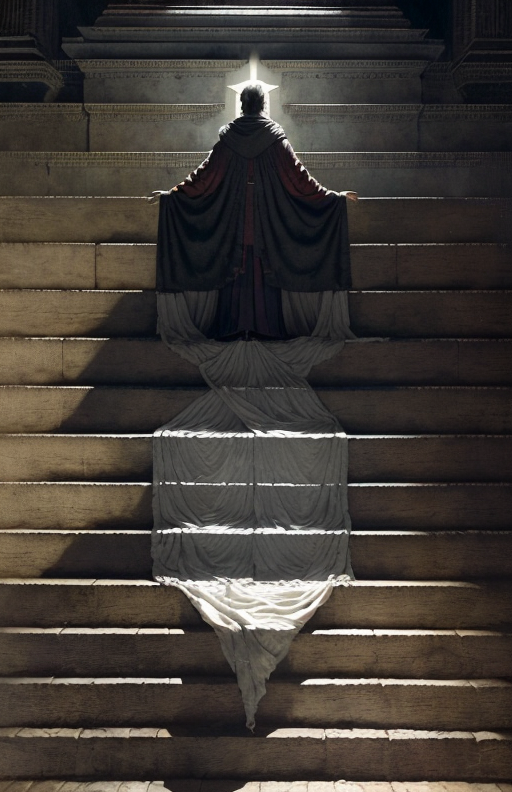
And of course, you can do goofy stuff like this:


Diffusion Model: RealisticVision
ControlNet Model: control_scribble-fp16 (Scribble)
ControlNet achieves this by extracting a processed image from an image that you give it.
The processed image is used to control the diffusion process when you do img2img (which uses yet another image to start) or txt2img and drive it towards desirable outcomes.
ControlNet is a major milestone towards developing highly configurable AI tools for creators, rather than the "prompt and pray" Stable Diffusion we know today.
So how can you begin to control your image generations?
Let's get started.
1. Download ControlNet Models
Download the ControlNet models first so you can complete the other steps while the models are downloading.
Keep in mind these are used separately from your diffusion model. Ideally you already have a diffusion model prepared to use with the ControlNet models.
If you don't have one yet, I suggest a popular model like Deliberate (general purpose) or Realistic Vision (hyper realistic people).
Go to this link:
https://huggingface.co/webui/ControlNet-modules-safetensors/tree/main
You can choose specific models or download them all (you're downloading the .safetensor files).
I recommend just getting them all since they are only 700 MB~ apiece. You might see 5.5GB versions floating around but these are older versions and no longer necessary.
If you are unsure of what you want, start with the depth and openpose models.
You can try all the models out online before you download them: https://huggingface.co/spaces/hysts/ControlNet
2. Download WebUI
I assume you have already downloaded AUTOMATIC1111's Stable Diffusion WebUI. If not, follow the installation instructions for your platform, and come back to this article when you are finished.
- Installation for Windows (NVIDIA GPU): instructions
- Installation for Windows (AMD GPU): instructions
- Installation for Apple Silicon (Mac M1/M2): instructions
- Installation for Linux: instructions
3. Download ControlNet Extension
Your WebUI should be running. As a reminder:
- Windows: double-click
webui-user.bat(Windows Batch File) to start - Mac: run the command
./webui.shin terminal to start - Linux: run the command
webui-user.shto start
Click on the Extensions tab and the Install from URL subtab:
Copy and paste the following link in the field labelled: URL for extension's git repository, and then press the big Install button.
https://github.com/Mikubill/sd-webui-controlnet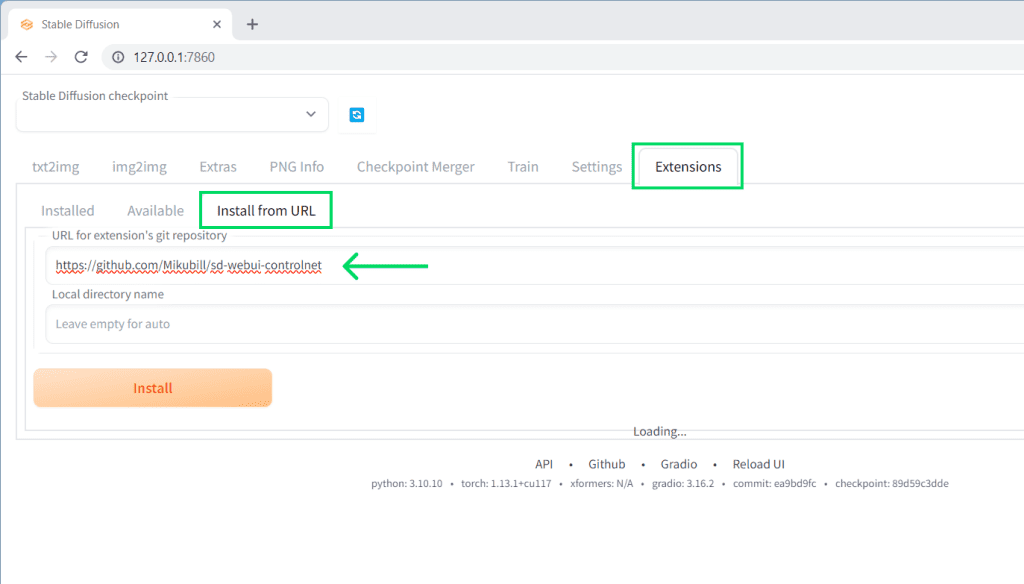
You will get a confirmation message when the installation is complete.
Close your WebUI (close the Command Prompt/Terminal or press Ctrl+C) and start it again.
4. Place model/s in WebUI folder
Place the .safetensor model/s you have downloaded inside inside stable-diffusion-webui\extensions\sd-webui-controlnet\models.
Note: this is different from the folder you put your diffusion models in!
5. Using ControlNet to Control the Net
Note: ControlNet doesn't have its own tab in AUTOMATIC1111. Instead it'll show up as a its own section at the bottom of the txt2img or img2img tabs.
Scroll down and expand this section either in the txt2img tab or the img2img tab.
To-dos:
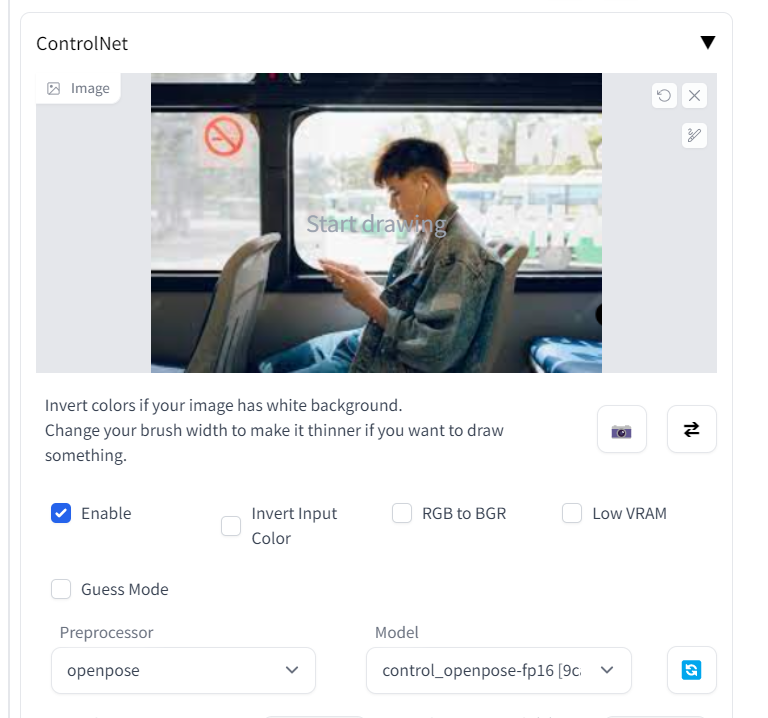
- Check "
Enable" - Select a Preprocessor and then select the corresponding Model (eg.
openpose&control_openposer-fp16)

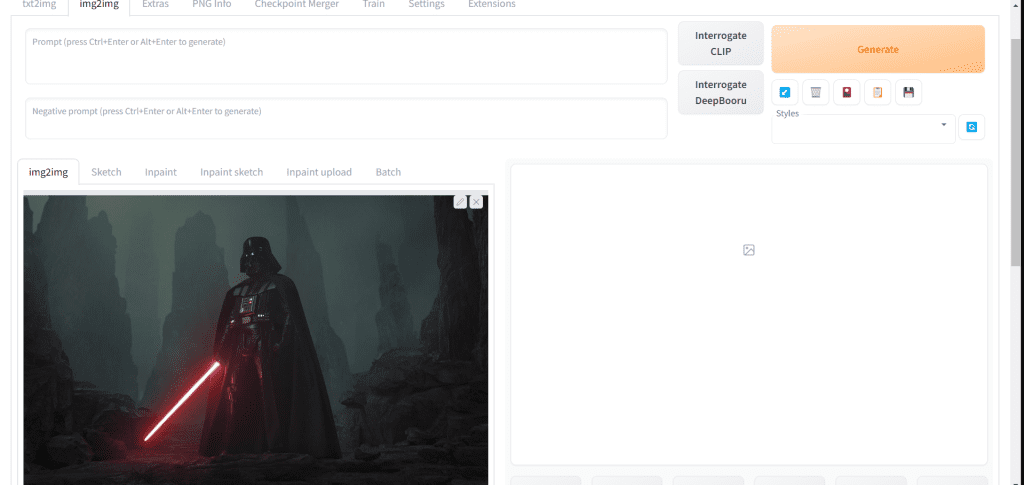
img2img
Same as always. Drag and drop the image you want to use into the normal img2img input area.
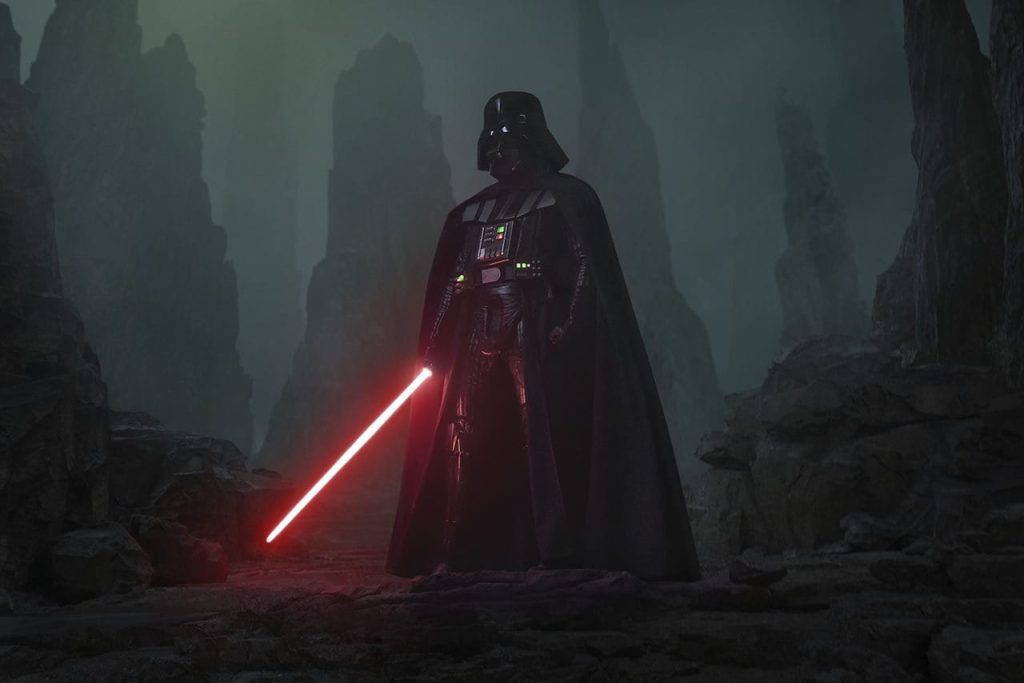
Here I'll use an image of Darth Vader:
Then scroll down to the ControlNet section. Drag and drop your controller image into the ControlNet image input area.
The controller image is what you will actually use to constrain/control the result. What you're using for this image really depends on what model you are using.
For example, if you're using the OpenPose model, the controller image will contain the actual pose you want.
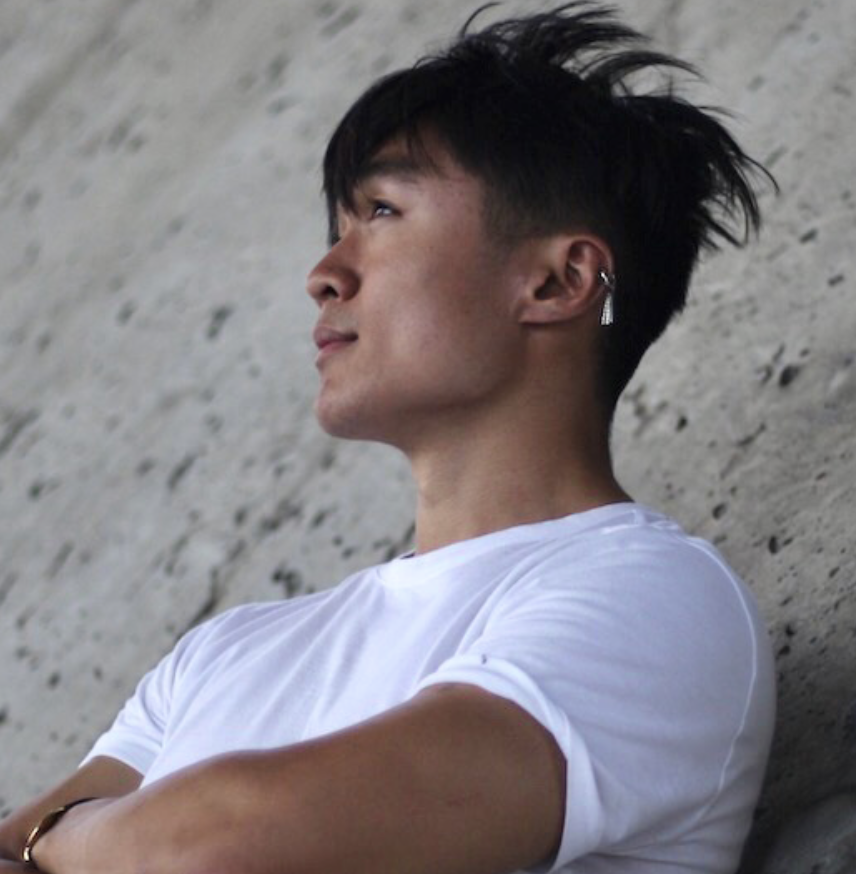
As an example, I'm going to use this image of a man on a bus:
You won't actually see the original pixels of this controller image reflected in the final image.
The only thing that matters is what information the ControlNet model you choose processes from this image (scroll down and click Preview annotation result to see what information the ControlNet model extrapolates from the controller image).
Remember to write a prompt! I'm taking a few thematic and stylistic elements from my original image, using the ControlNet image to control the pose, and finally using the prompt to really drive things home:
darth vader sitting on bus looking at his phone wearing black gloves, new york city passing by outsidePress Generate:


Right: img2img input image (stylistic inspiration)
Keep in mind OpenPose is one of many models, each with different possiblities and applications. I recommend you download and test all the models for yourself!
Note: you can use your own skeleton and your own maps too, and the respective model will detect them. This can help you get the exact pose you want without first extracting it from an image. Remember to set your preprocessor to None when using them or else they'll get processed again. More on this below.
Want the latest in ControlNet and Stable Diffusion news?
Make you should have checked the "Enabled" box in the ControlNet panel.
Make sure you have selected a Processor and a Model.
Make sure your ControlNet Extension is fully up to date. Go to Extensions > Check for Updates. Update your extension if needed and restart the WebUI.

Thanks for the guidelines, could you please tell me where should I put the ControlNet/annotator/ckpts in stable-diffusion-webui/ folder? For example, the body_pose_model.pth in ckpts/ can place in stable-diffusion-webui/models/openpose/ folder (I found this when I use openpose in controlnet), but the rest of the ckpts/ is not clear.
Hello! The newest version of extension comes with the annotators so no there is no need to download them separately.
Extensions tab > Check for updates. After updating extensions, fully restart your WebUI.
Also, ControlNet models should be placed in this folder:
stable-diffusion-webui\extensions\sd-webui-controlnet\models\That’s a great update! Thanks for your kindly reply, I will try this later!!!
Btw, does that mean I only need to download the controlnet models and place them in stable-diffusion-webui\extensions\sd-webui-controlnet\models\ and rest of the files the “control net extension” would help me to complete it?
Yes, that is correct!
Did everything listed I believe, getting this error
Error running process: D:\StableAI\stable-diffusion-webui\extensions\sd-webui-controlnet\scripts\controlnet.py
Traceback (most recent call last):
File “D:\StableAI\stable-diffusion-webui\modules\scripts.py”, line 386, in process
script.process(p, *script_args)
File “D:\StableAI\stable-diffusion-webui\extensions\sd-webui-controlnet\scripts\controlnet.py”, line 557, in process
else self.build_control_model(p, unet, model, lowvram)
File “D:\StableAI\stable-diffusion-webui\extensions\sd-webui-controlnet\scripts\controlnet.py”, line 420, in build_control_model
raise RuntimeError(f”model not found: {model}”)
RuntimeError: model not found: None
Hey Joshua, I suggest updating the Extension (Extensions -> Check for Updates). Also can you confirm your models are in the folder
stable-diffusion-webui\extensions\sd-webui-controlnet\models?Thanks for the reply,
Models are all installed. Its saying this
Error running process: D:\StableAI\stable-diffusion-webui\extensions\sd-webui-controlnet\scripts\controlnet.py
and then at the end.
Exception: Error while deserializing header: HeaderTooLarge
it generates images, just ignores controlnet. The script is in the right folder. :\
Hi! just pointing out that the URL for the Webui installation on Apple Silicon macs changed to https://aituts.com/stable-diffusion-mac-m1/ (therefore the link in the article section 2 is broken) 🙂
Have updated, thank you for the notice.